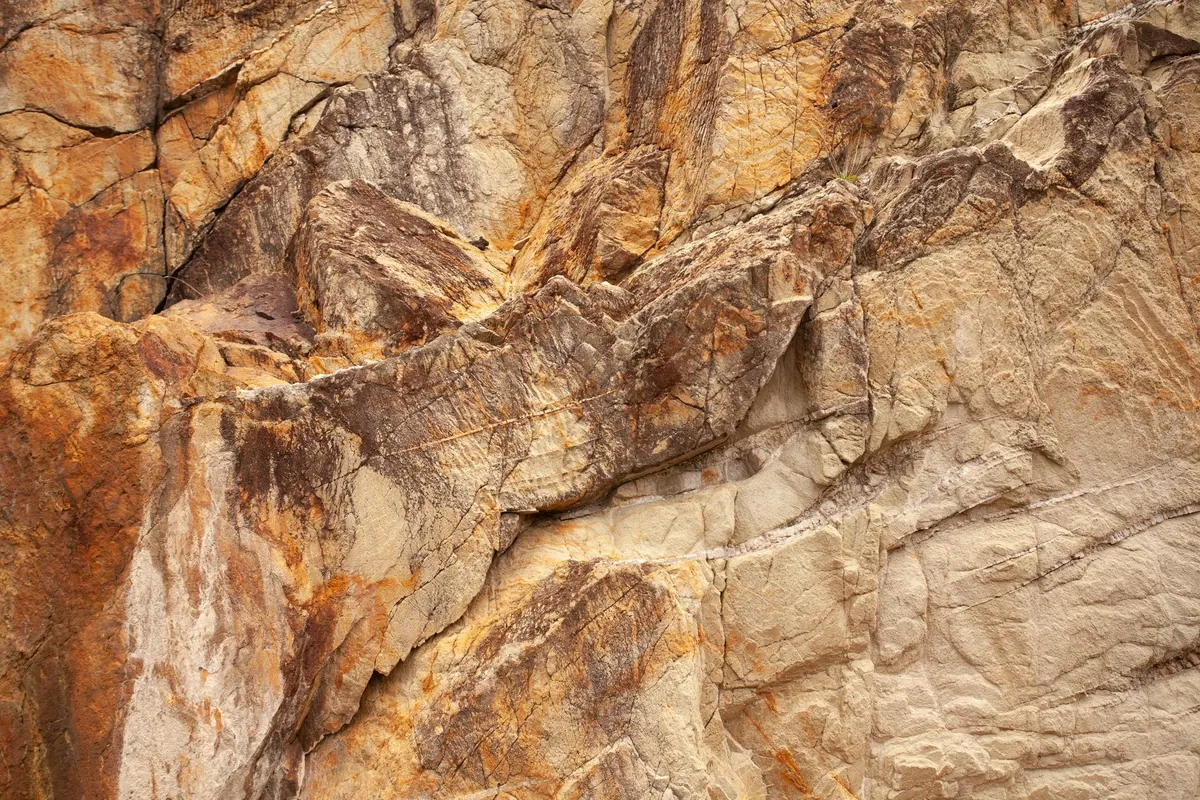
Most photographers see a flat white sky and pack the camera away. Anyone photographing rock should do the opposite. Overcast light is the closest thing to a studio softbox that the outdoors provides: cloud scatters sunlight so it arrives from every direction at once, wrapping around a rock face instead of raking across it. Hard shadows vanish. Highlights stop blowing out to white, shadows stop collapsing into black, and the surface of the stone — its grain, its pits, its bedding planes — becomes readable from edge to edge.
What you lose is drama. What you gain is information, and rock textures are mostly information. Here is how to get it.
The problem with direct sun on rock is contrast. A single frame rarely holds both a pale limestone and a dark basalt in full sun: expose for the light mineral and the dark one turns to a silhouette, expose for the dark and the pale one clips. Under cloud, that range narrows considerably. Both ends of the scale survive in the same exposure.
Cloud also flattens colour in a way that helps. Direct sunlight pushes warm, saturated tones across everything, so a grey sandstone and a grey siltstone start to look alike. Diffuse light keeps mineral colour subtle but honest, and it removes the dappled shadows cast by trees, which are the single most distracting thing in a woodland outcrop photograph.
The aim is a file with no clipped highlights and no lost shadow detail, because texture lives in the mid-tones and the transitions either side of them.
"A rock" is not a subject. Grain is a subject. Cross-bedding is a subject. Vesicles in cooled lava, the sheen of foliation in a schist, a single crinoid stem in a limestone block — these are subjects. Choose one and let it fill the frame; a picture that tries to describe an entire outcrop usually describes nothing.
Before you set up, ask what a geologist would want to see. If the answer is the shape of the grains and how they fit together, get close. If it is the relationship between two beds, step back and go wide enough to show the contact clearly, with the frame squared to it rather than tilted.
A scale bar with divisions, or a lens cap, tells the viewer what they are looking at and is often expected in field photography. It also spoils a good composition. A workable compromise is to shoot the frame clean, then place the scale and shoot the same frame again. Keep both.
Texture photographs live or die on where you put the camera. Face-on, parallel to the surface, you record pattern: repeating joints, ripple marks, a mosaic of pebbles. Move to a low angle a few degrees off the plane and the same rock reveals relief instead — pits, ridges and the small shadows that describe depth.
Try both. Then try turning the camera, so that the bedding runs diagonally across the frame rather than horizontally. Diagonal lines carry the eye further into the picture and stop the image reading as a flat swatch. Fill the frame edge to edge, and check the corners: a stray patch of grass at the bottom of a texture shot pulls attention away from the stone.
If the light is so flat the surface looks like a map, one option is to add a little direction by hand. A sheet of white paper or kitchen foil held on one side bounces light into crevices. A torch held almost parallel to the rock picks out relief without changing the overall character of the light. Used sparingly, both work; used to excess, the shot stops being an overcast-light photograph at all.
Water is a texture amplifier. A light spray from a bottle, or the rock's own dampness after rain, darkens the stone, deepens contrast in the grain, and brings out colour that dry dust hides. The trade-off is glare. A polarising filter cuts reflections from wet surfaces and lets you see through the sheen — but the sheen is sometimes the subject, particularly on polished or slicken-sided surfaces. Take one frame with the filter rotated to full effect and one with it backed off.
Overcast light is also cool. Left to its own devices, auto white balance will shift the colour around from frame to frame. Set a custom white balance from a grey card under the same sky, or shoot a grey card once per session and correct the whole set later. This matters more than usual when you are photographing subtle grey-green or grey-pink mineral differences, because a wrong white balance will invent colour that is not there.
Take a microfibre cloth and a spare, because spray and drizzle land on the front element constantly. Keep a rain cover or a plastic bag over the camera between shots, and a sachet of silica gel in the bag if you are out all day. Mist is another kind of softbox, and if it is thick enough to hide the background, use it: a boulder isolated against pale grey makes a clean specimen portrait.
Be sensible about access. Cliffs, quarry faces, scree and wet wave-cut platforms are genuinely dangerous, and tides in Britain move faster than most people expect. Check where you are going and tell someone. Many sites, particularly Sites of Special Scientific Interest, prohibit hammering and removing material — photographing is fine, collecting often is not. Check before you go.
Set the tripod, compose to fill the frame, check the corners, then work through the settings in order: base ISO, aperture around f/10, manual focus at 10× magnification, white balance set, histogram checked and exposure nudged to the right. Fire with the timer. Then, before you move, do the two things that usually matter most: shoot a second frame from a slightly different angle, and shoot a third with the scale in. Grey light will not last forever, and the files you did not take in the five spare minutes are the ones you will miss when you get home.
Photo: Matilda Iglesias / Pexels